All systems online
Don't Do let them in!
A quick note before we dive in. Please do not attempt to query any of the domains or IPs shared in this post. Most are made up, some were only created for testing, and some are real. But none are guaranteed to work.
My cluster was secured. I knew how to install new services. It was finally time to figure out how to deploy a service that could be accessed over the internet. Where do I even begin? There are a lot of different challenges to solve, so let's start by breaking down all the problems.
First, a story. Forget the Kubernetes cluster and all of the fancy stuff I've been working on. It's 2013. A much younger me is trying to figure out how to host a Minecraft server for my friends. How do I do that from a computer in my home network? Well, initially I needed to download the actual server program. I could run it just like other apps on my computer, but how would people connect to it? I started by figuring out how other devices in my home could connect to the server. Basically, I needed to tell clients what computer was hosting the server, and how to connect to the server on that computer. To figure out what computer was hosting the server, I would tell clients the IP address of the host computer, which would be something like 192.168.1.12. It's literally the "address" of the computer, just like a street address. Sticking with this analogy, I still needed to figure out how to tell clients what door to enter through. For computers, that "door" is a port. "Port" here does not mean a hardware port, like a USB port, but instead a networking port. Networking ports are just a number, like 80 or 9090. By default, Minecraft servers use the port 25565. So when I ran the Minecraft server on the host computer, it would be available on port 25565. When telling a computer to connect to another computer, you typically connect to the <ip>:<port>. So in this example, clients would need to open Minecraft and connect to 192.168.1.12:25565.
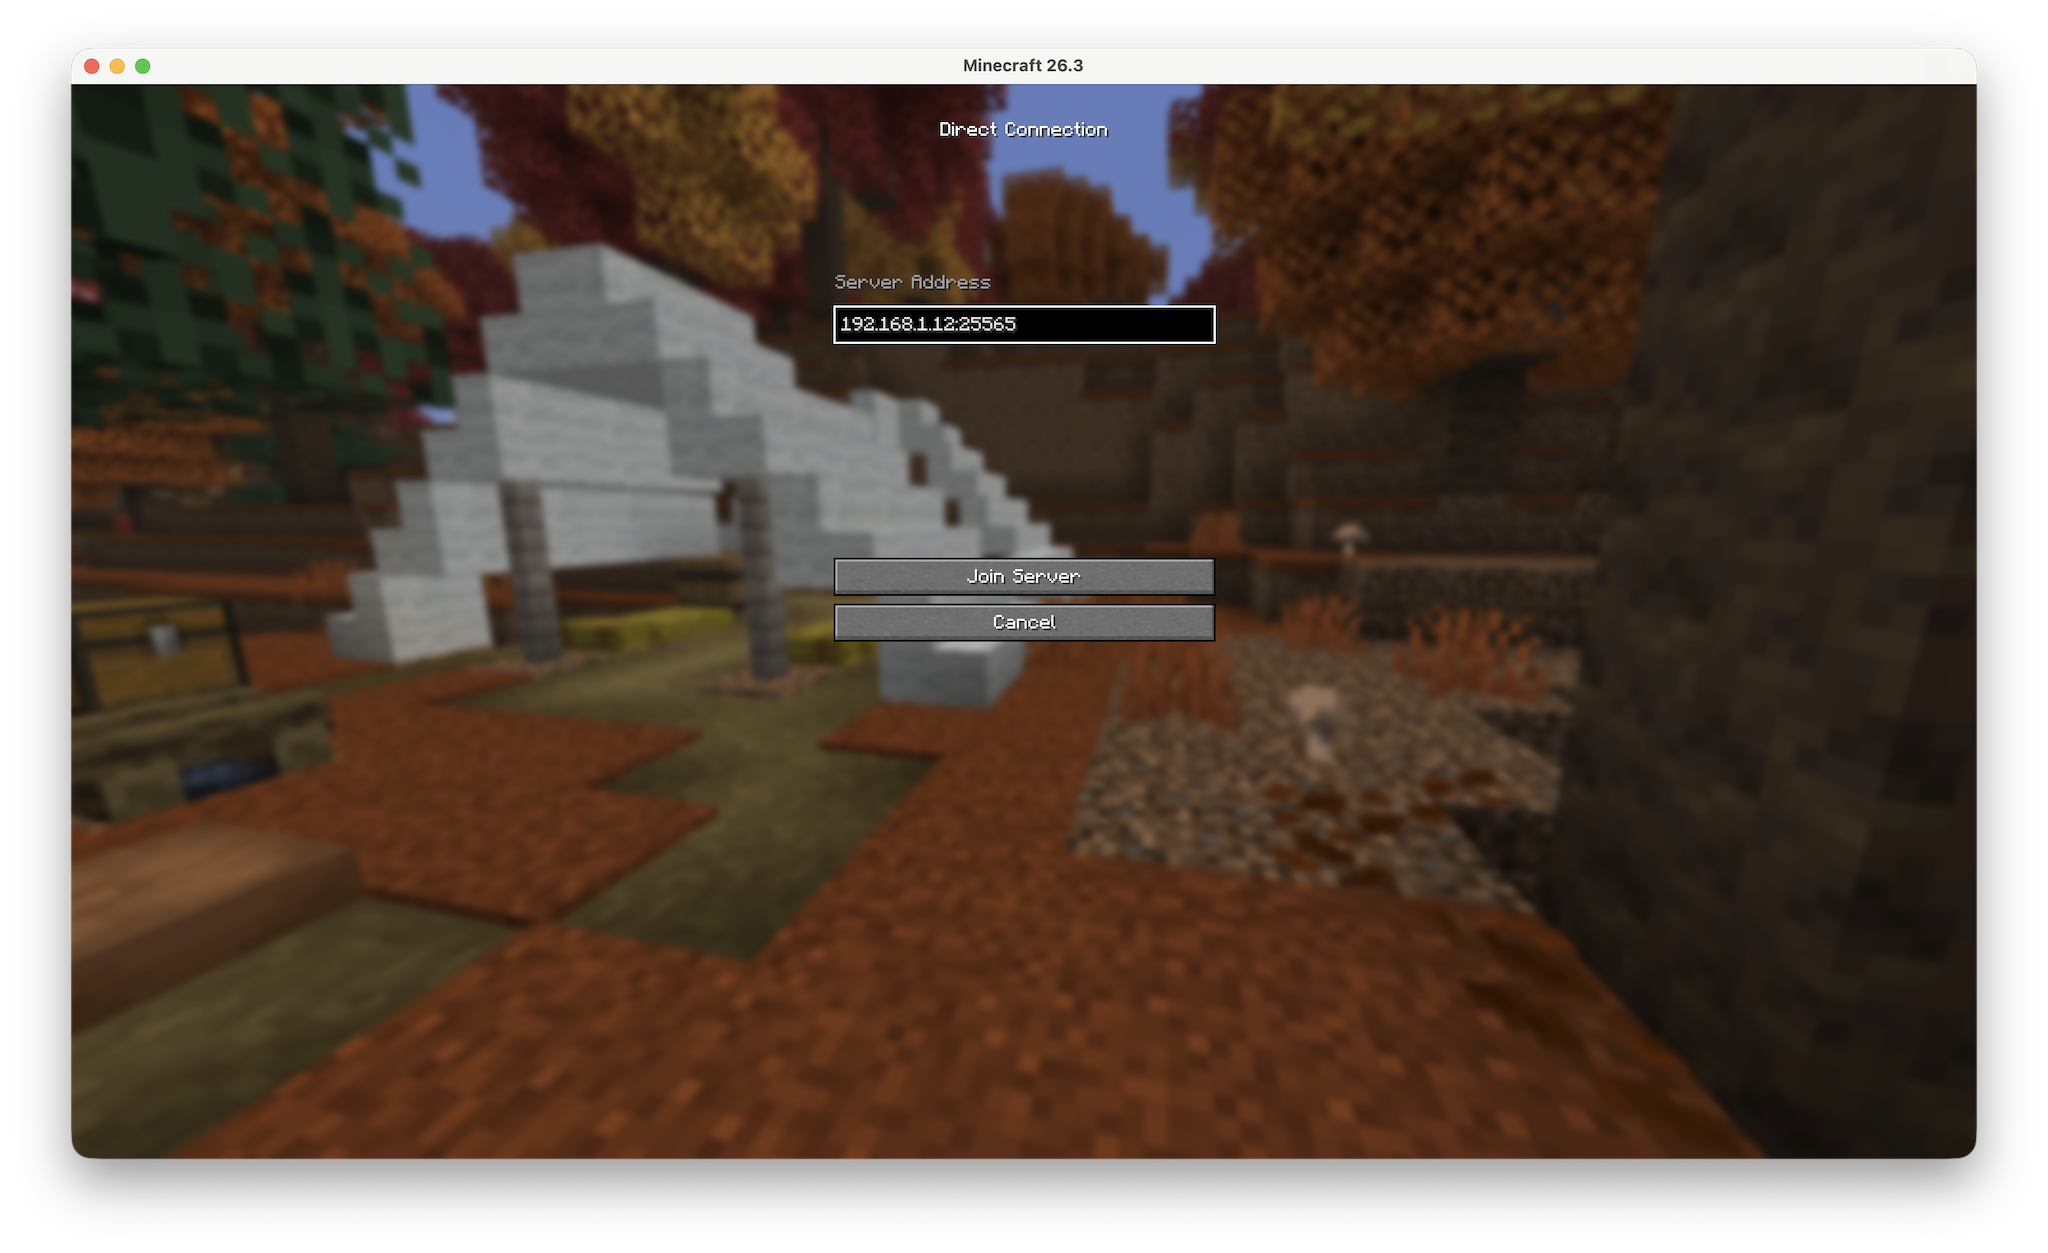
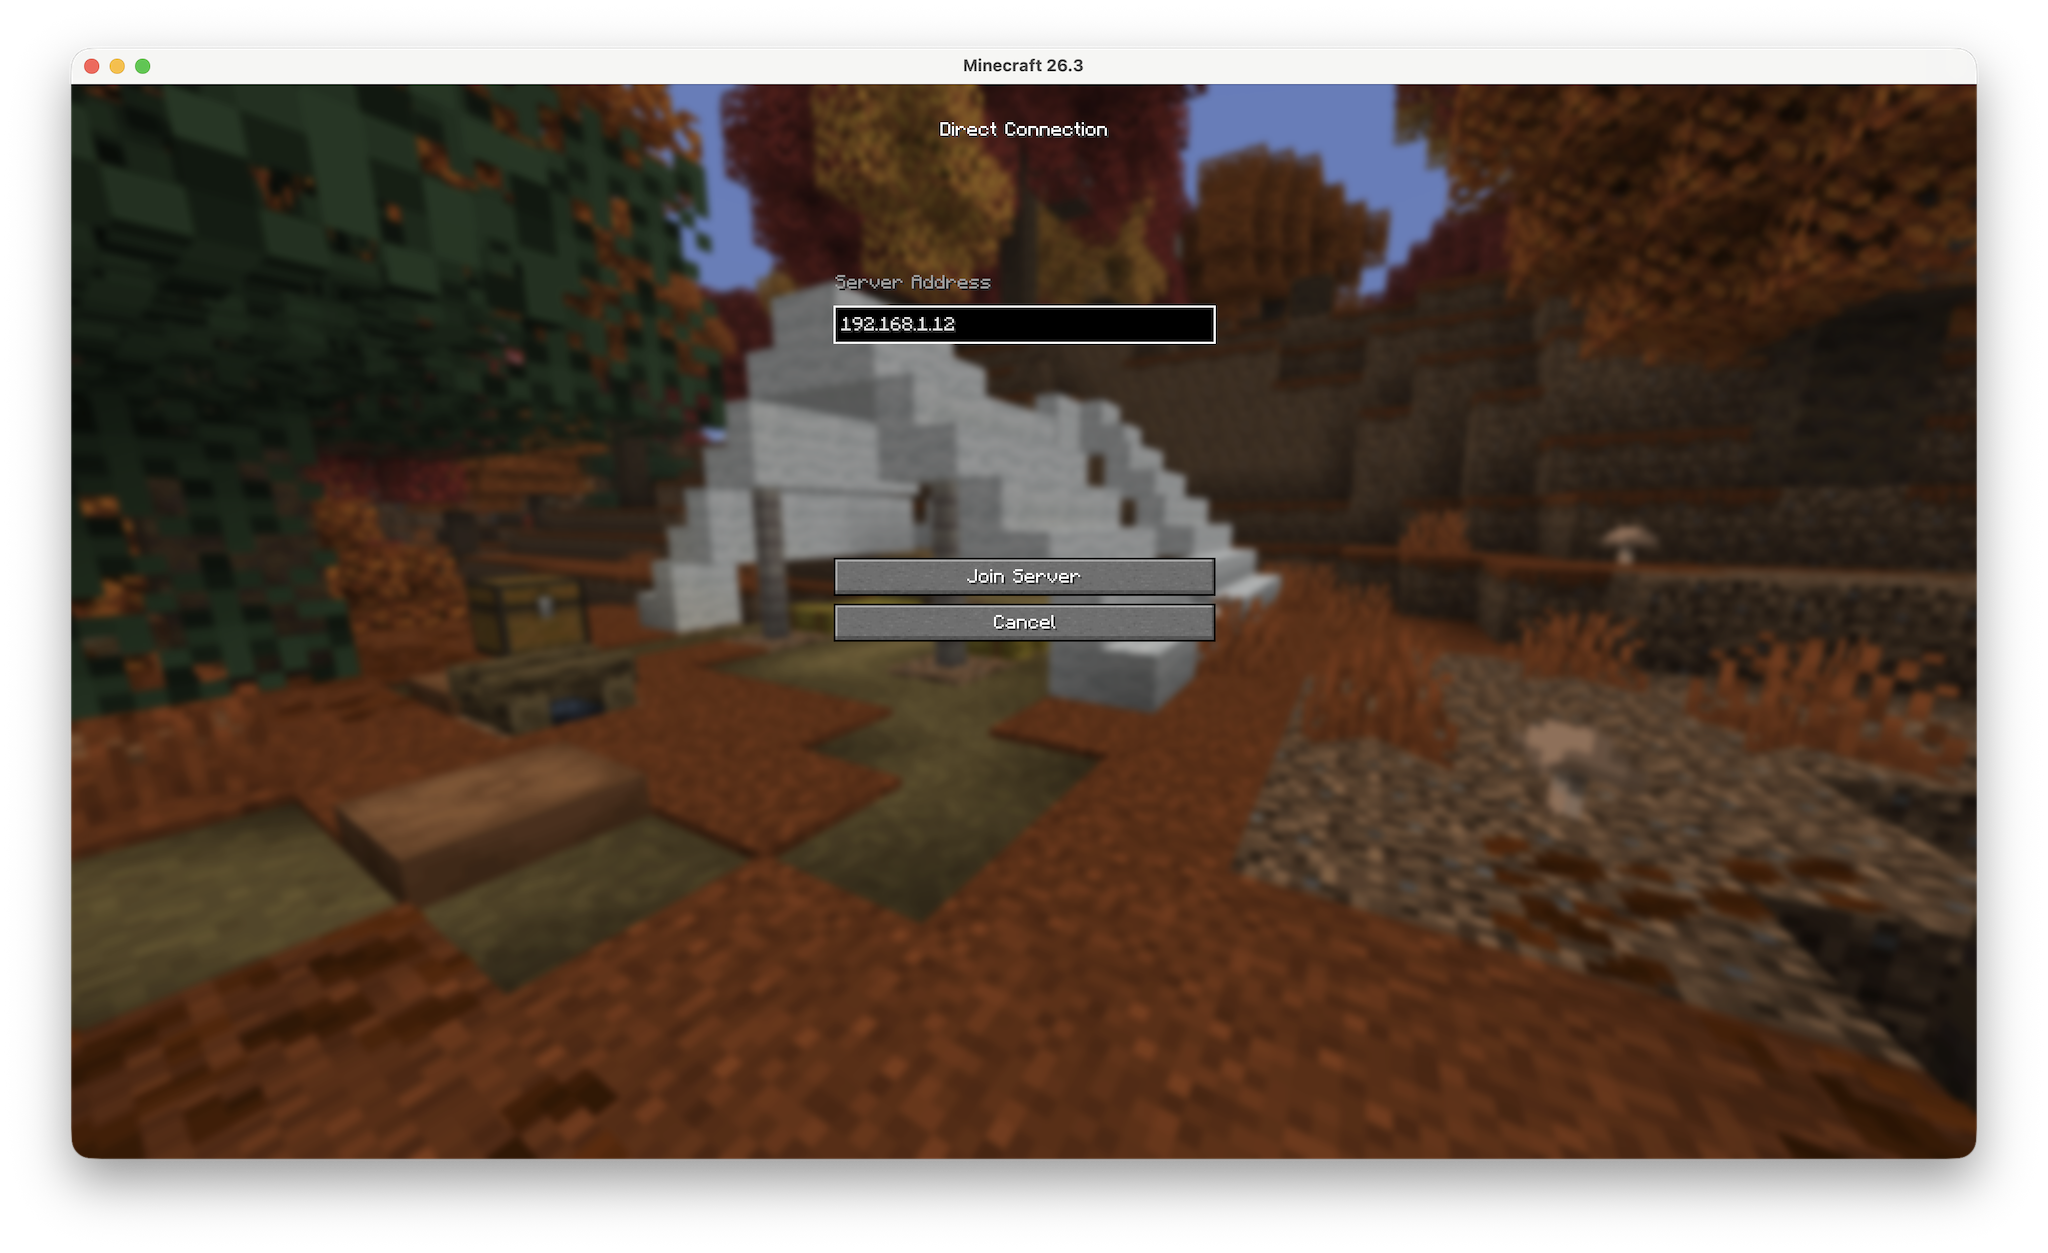
As a quick aside, many programs will typically make the port optional, as long as some default is established. Like I mentioned earlier, for Minecraft the default port is 25565, so when connecting to a server that uses that port you can omit it and just specify the IP.
This is actually true when browsing the web as well! Whenever you're browsing the web and connecting to addresses, you need to specify a port. However, you've probably never been aware of this because http:// defaults to port 80 and https:// defaults to port 443. By convention, most servers hosting web pages use these ports, so that's probably why you might not have noticed!
Back to the story. I figured out how computers in my home network could connect. But what about friends who weren't on the network? Well, the IP address I mentioned above wouldn't work for them. To understand why, we need to briefly discuss IP addresses and how they are assigned. What I was referring to above as an IP address is more specifically an IPv4 address. IPv4 addresses are made up of four numbers in the ranging from 0 to 255 separated by periods (0.0.0.0 - 255.255.255.255). That means there are 256^4 = ~4.3 billion possible addresses. This isn't actually all that many. You probably own at least a phone and computer, and probably many more devices. There actually aren't enough IPv4 addresses for every device on the planet to have a unique IP. New protocols, such as IPv6, were created to solve this problem, but the internet grew up with IPv4 and even now most networks still use IPv4 (though more and more networks are also supporting IPv6). So how was the limited number of IPs solved? Network address translation (NAT)!
NAT is a complex system, but at a high level, it allows one IP to map to an entire range of IPs. This is typically how Internet Service Providers (ISPs) operate residential networks. When you sign up with an ISP, most assign your home network a "public" IPv4 adddress (such as 158.25.192.0). But devices "behind" it (in your home network) use an entirely separate range (typically 192.168.0.0 - 192.168.255.255). So hopefully that explains why friends outside my house wouldn't be able to use 192.168.1.12 to connect to my server. That IP likely was for a device in their own home network, not my computer hosting the server. But then how would they connect to my server? This is where port forwarding comes in. Most routers let you configure port forwards. Essentially, these configurations say "if someone connects to my publicly available IP on a specific port, send that traffic to a specific IP in my home network on some port". So back in the day, I added a port forwarding rule to my home router to route connections to 158.25.192.0:25565 (my example public IP) to 192.168.1.12:25565. And boom! Now my friends could connect to my server using my public IP.
I do want to briefly mention, that even though IPv6 does solve the limited IP issue, NAT continues to remain quite popular from a security standpoint. Having just one exposed entry point, with most devices safely isolated behind it, comes with a number of benefits. Another note I want to add is that some ISPs do not dedicate a public IP to each home network. Instead, they use carrier-grade NAT (CGNAT), which does break the public availability flow I shared above. Luckily, that was not an issue for me back then or today with my current ISP.
So with that simple example, some of the steps become much clearer. I need to give a pod in my cluster some kind of internal IP, which should be visible from other computers in my home network. Then I need to make sure that IP is static. And then I can configure a port forward rule in my router to expose that pod to the internet.
Gateway, great way
There's just one problem. The whole point of running services in a cluster is to isolate them and abstract away the surrounding network, hardware, and other infrastructure details. When I run a pod in the cluster, by default it is not given an IP address by my router and other computers in my network can't see or connect to it. It does have an IP internal to the cluster, but that's not something other computers on my network can see. To enable traffic in and out of the cluster (also called north-south traffic), we need some way to explicitly tell Kubernetes to make our pods reachable outside of the cluster. The modern way to do this is using the Gateway API. Luckily, Cilium supports the Gateway API natively! Basically, we need to create a Gateway object in the cluster. Then we can create different route objects (like HTTPRoutes) for each service we want to expose which will use that Gateway. First, I needed to deploy a service to expose to the internet. Just for testing, I chose to deploy the podinfo Chart. Next, I followed the Cilium docs and created a GatewayClass, Gateway, and HTTPRoute for the pod. However, there was still one missing piece I would need to implement before the pod could be exposed.
When using Kubernetes with a typical cloud provider, the common way to expose workloads to the internet is to use something called a load balancer. This is usually a distinct component offered by cloud providers, and yes you need to pay for it. In return, the cloud provider handles the IP address allocation and assigns it an IP which can be public. You then just point the load balancer to whichever pod(s) you want to direct traffic to in your cluster. Easy peasy. To facilitate this, Kubernetes supports Services with the LoadBalancer type. Creating a Gateway object ends up creating a LoadBalancer Service behind the scenes. However, because I'm running a bare metal cluster, nothing assigns an external IP to the Service and it is left in a pending state. I needed something to support LoadBalancer Services in my bare-metal cluster. After doing some research online, I found a project called MetalLB which seemed promising! While I did get MetalLB working, I ended up learning that Cilium could be used for the functionality instead! Is there anything Cilium can't do?? Anyways, Cilium supports LoadBalancer IP Address Management for assigning IPs to LoadBalancer services and L2 Announcements to advertise those IPs to other devices on the local network. I created a CiliumL2AnnouncementPolicy and CiliumLoadBalancerIPPool (making sure to only include IP ranges that would not be assigned by my router) and then I requested a specific IP for the Gateway using the spec.addresses option. And ta-da🪄! My service was assigned an IP that I could hit from other devices in my network.
Port forwarding was simple, I just configured my router to port forward connections on port 443 to the IP address of my Gateway with the port I chose for HTTPS connections. Now I could hit my public IP and reach the podinfo server! But there were still two issues to solve. Firstly, requiring users to hit an IP address directly is annoying. It can be hard to remember. Secondly, the public IP isn't even guaranteed to remain the same (though they don't change very frequently)! So even if I accepted the annoyance, the IP could change in the future, and I would need to share the new IP to all users. Is there a way to solve both problems?
Naming numbers
Yes! This is where the Domain Name System (DNS) comes into play. One of the features DNS supports is the assignment of a domain name, like sammcb.com, to an IP address. This is why you may have never needed to use an IP in a URL when browsing online. So how does DNS work? Well, first you need to own a domain by purchasing one through a registrar. The domain I own for use in my hobby projects is sammcb.dev. As a quick note, if you own a domain then you can use any subdomain as well. These are domains like subdomain.sammcb.dev or sub.subdoamin.sammcb.dev, etc. Anyways, then you can create entries called "DNS records" to configure your DNS. So I can simply create a record to give an easy-to-remember domain name to my public IP. But what if that IP changes? Let's return to that problem later, as it wasn't trivial to solve. For now, I manually created a DNS record to assign mytempcluster.sammcb.dev to my public IP.
But for my cluster, I want to be able to host any number of servers, each with their own unique domain. This is actually functionality I get for free, but to understand why we need to talk a little bit more about the Gateway API. The idea behind the Gateway API is that all traffic entering the cluster should go through the Gateway (hence the name), and then should be proxied back to the specific destination service. This is called a reverse proxy. With a reverse proxy, only one IP needs to be exposed for any number of services to be available outside the cluster. So how does the reverse proxy know which service the traffic is intended for? DNS of course! Every request entering the reverse proxy includes the domain name that was used. The deployed HTTPRoutes (or other route kinds) tell the Gateway which service is associated with a specific domain so it knows where to proxy traffic to. So earlier, when I created the HTTPRoute for the podinfo web server, I set the spec.hostnames value to [podinfo.sammcb.dev]. When a request for the podinfo.sammcb.dev domain enters the Gateway, the Gateway knows where to send it based on other configuration in that HTTPRoute and the request reaches the podinfo web server. Great!
But you may have noticed above that I never created a DNS record for podinfo.sammcb.dev, only for mytempcluster.sammcb.dev. So how will requests going to podinfo.sammcb.dev reach my cluster? Well, at that point they didn't. To fix that, I needed to create a new DNS record. I only wanted one recording pointing to my public IP to simplify some steps later. Luckily, there was another type of DNS record I could create to point podinfo.sammcb.dev to the existing mytempcluster.sammcb.dev, which would then use the value of that existing record! That type of record is called a CNAME record. So then the flow would look like this: podinfo.sammcb.dev -> mytempcluster.sammcb.dev -> <my public IP>. I could have created the podinfo record manually, but I really want the record creation to be dynamic and automatic. To do that, I needed to introduce a new service to the cluster: ExternalDNS!
Ever-changing DNS
With all of that background, hopefully you can see how, historically, DNS was easiest to manage with fairly stable IPs. But a core tenant of Kubernetes is that pods and their IPs are intended to be ephemeral and dynamic. This model does not lend itself at all to traditional DNS management. Luckily, ExternalDNS was created to bring easy DNS management to Kubernetes clusters. When you deploy ExternalDNS, you give it permissions to modify DNS records with your registrar. You can then configure it to watch for specific resources in the cluster and manage DNS records for those resources. For the records I'll be creating, I need two pieces of information: the new DNS domain name to create and the target it needs to point to. As I mentioned in the previous section, that target can be an IP or another domain (or other types, but those don't matter for this post).
For now, let's look at how a simple record pointing to an IP would be created for services using HTTPRoutes. For simplicity, assume there is only one domain name we want to make a record for. ExternalDNS simply looks at the spec.hostnames value to figure out the domain name. In my case, that is podinfo.sammcb.dev. So all it needs to know now is the target. My HTTPRoute is supported by a Gateway object, which is configured in the HTTPRoute spec.parentRefs section. ExternalDNS can use that information to find the Gateway, and then can get the IP address of the backing LoadBalancer Service from that (which I requested using the Gateway's spec.addresses field earlier). In my case, that IP is 192.168.3.200. So ExternalDNS will create a DNS record pointing podinfo.sammcb.dev -> 192.168.3.200.
But as I mentioned above, this won't work for devices outside of my home network because that's an IP behind my NAT. Ideally, I would want ExternalDNS to use the mytempcluster.sammcb.dev as the target. After doing some research, I found a simple way to do just that! All I had to do was add an annotation to my Gateway object: external-dns.alpha.kubernetes.io/target: mytempcluster.sammcb.dev. ExternalDNS would use this value instead of the internal IP. Great! Now I can spin up any new service with an HTTPRoute and ExternalDNS will automatically create CNAME records mapping their domain to mytempcluster.sammcb.dev, which points to my public IP and port forwards from my router to the cluster.
There's still one last piece to figure out though. The DNS record I created manually pointing mytempcluster.sammcb.dev to my public IP will break if my public IP ever changes. This actually ended up being fairly challenging to solve. Some routers support something called Dynamic DNS (DDNS). This works almost exactly like ExternalDNS. You give it permissions to manage DNS records with your registrar, and it automatically manages a record that points to your public IP (which the router knows). My router actually does support this, but sadly I found out not with my specific registrar. I also was hesitant to use this solution, as I liked the idea of all my systems being hardware-independent and portable. That's part of the reason I wanted to use Kubernetes in the first place! So with that option out, I would need to build a solution myself! I mulled over some options, and ended up finding one I consider pretty clean!
The first problem I had to solve was how to automatically create DNS records assuming I knew the target IP. I wanted to avoid creating a new system that would also need credentials to manage DNS records with my registrar. I especially wanted to avoid writing a service myself as I was worried I would inevitably mess something up and end up with incorrect DNS records or worse, deleting other important records. This part ended up being remarkably easy. I learned that ExternalDNS supports DNSEndpoint CRDs. So all I would have to do is make sure I had a DNSEndpoint in my cluster with the correct public IP. To get my public IP, I would just have to query an IP API. I found ipify, which is a public, free, open-source API. So all I needed was something to query that API and keep a DNSEndpoint up-to-date in my cluster. Then ExternalDNS would handle the record management! I wrote a simple CronJob for this which checks for updates every 5 minutes. While it's unlikely that my IP will change frequently, I wanted to minimize the amount of time my DNS would be down when the IP does change. With that, I had all my DNS figured out!
HTTP Secure
Did you know that's what HTTPS stands for? With DNS up-and-running, I was finally able to reach the podinfo service from any device connected to the internet! But there was one final piece of the puzzle to solve. I could only connect using regular old HTTP. I wanted to make sure my web services could be reached over HTTPS, as that's just something I consider baseline security. HTTPS isn't just a simple toggle I can enable though, and to understand why we have to peek behind the curtain at how it works.
HTTPS improves on HTTP in two primary ways: by creating a secure connection over an insecure network (like the internet) and establishing trust. HTTPS servers encrypt data before it's sent to clients using certificates. Establishing trust is important because it allows clients to verify a website is who they say they are. To enable this, the certificate must be issued by a trusted certificate authority. You can create your own certificates, called self-signed certificates, but most browsers and clients will show warnings that the certificates are untrusted. I needed to find a way to request certificates from a certificate authority and use them with my HTTPRoutes. It was time to introduce another new service: cert-manager!
cert-manager does what it says on the tin. It manages certificates for you. The first thing I had to do was tell cert-manager which certificate authority to request certificates from. To do that, I created an Issuer resource. I chose Let's Encrypt as my certificate authority, as it's one of the most common authorities and available to everyone! When you request certificates, you request them for a specific domain. But authorities need to know you own the domain before they will issue you certificates. They do this by making you solve a challenge. There are a few different kinds of challenges you can solve. I ended up choosing to use a DNS-based challenge. The idea here is pretty simple. Just like I did for ExternalDNS, I would give cert-manager credentials so it could manage DNS records for the domains I wanted to request certificates for. Then, when I create an Issuer, cert-manager will try to create a temporary DNS record for the specified domain, check to see if the record was successfully created (which means I do own the domain), and then delete the record. After setting all that up, I had an Issuer ready to serve trusted certificates!
To actually request the certificates, all I had to do was add the following annotation to my Gateway: cert-manager.io/cluster-issuer: <name-of-my-issuer> and then configure the tls section of any listeners defined in the Gateway! Now, any time I create an HTTPRoute it will automatically be given a certificate and I can use HTTPS to connect to the backing server!
It's about the journey
Here is the end result of all these services working together!
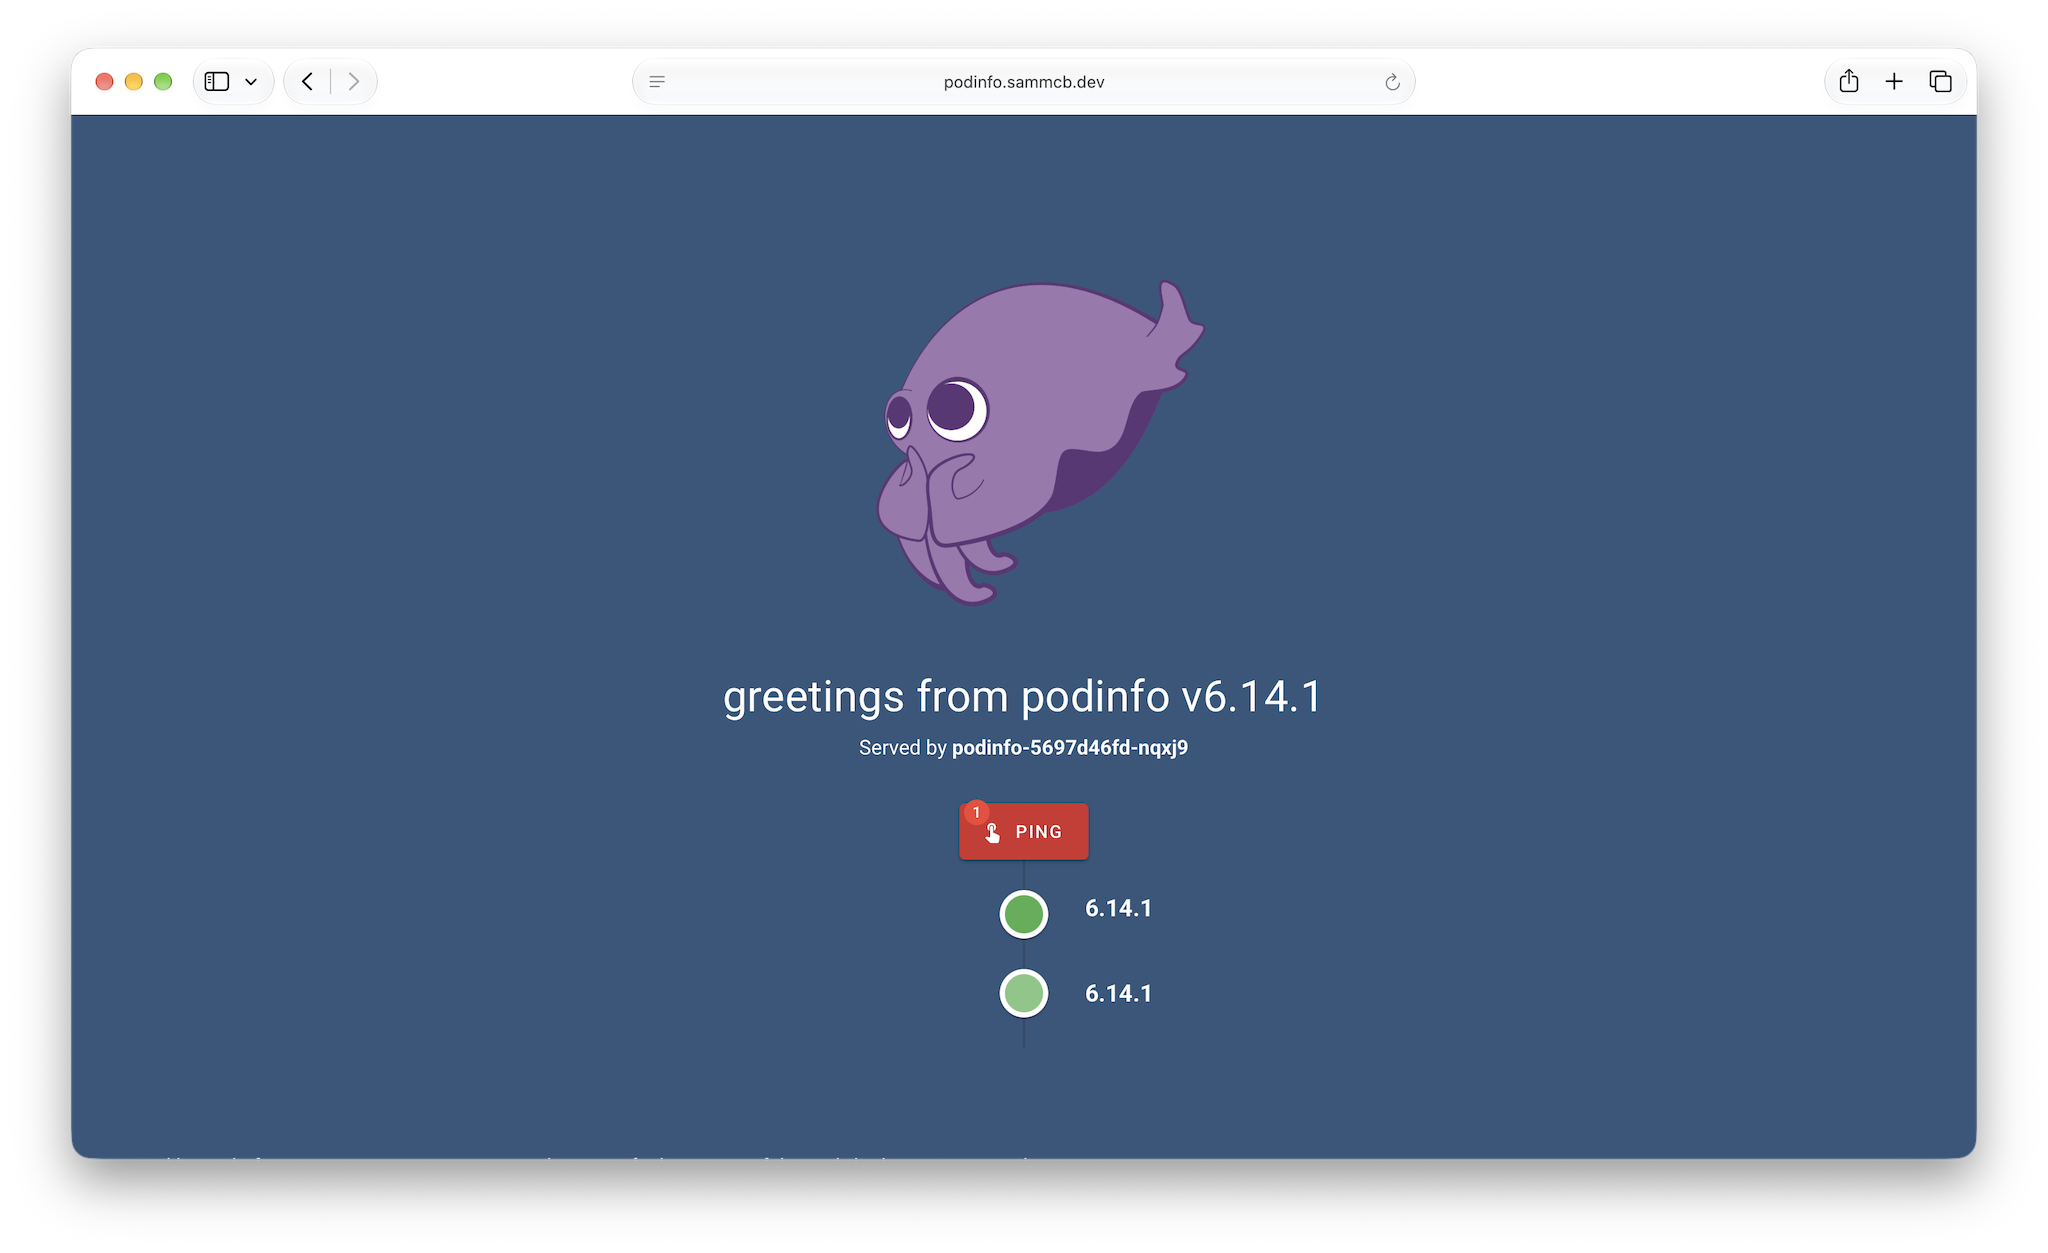
What's especially cool about all this is how easy it will be to create safe, public, easy-to-access services whenever I need. You might be wondering why I didn't share any code snippets in this post. Partially, it's because I thought the theory behind everything should be given center stage. But also it's because there were a lot of objects I needed to create. While I was working on all this, I thought it would be much nicer to package all of the shared components up into a Helm Chart. That way, I would just need to deploy my Chart and then I could create Gateway API route resources for all my individual services and everything would "Just Work". So here is my first "real" repository on Codeberg: homelab-gateway! I'm excited to share some of the other work I had to do to set up this repository, but I'll save that for a future post.
I personally love learning about all the standards, protocols, and technologies that make the internet what it is today. It was really fun to reasearch everything and try to string it all together into a (hopefully 🤞) understandable timeline. I hope you you enjoyed the post, and thank you so much for reading!